
WebGL playground is a straightforward idea: type in your script and see the results. But the cool part is that the editor and the results are just on the same page and that you get a handful of features that make your life easier. No need to create multiple files (html/css/js/glsl), no need to save anything after each update, no need to switch between the editor and the browser, and no need to set up the skeleton code. All necessary things are added behind the scenes. The idea is to shorten the development cycle so you can spend more time on the creative part, trying "what-if" scenarios, tweaking the parameters ...
Documentation contents:
Everything you write, you write in one editor. What you write, however, is split into multiple sections: the main code, fragment shaders, vertex shaders, the list of external JavaScript libraries that you want to use, and some project information. Each section begins with the sign @, followed by a name of the section. The editor recognizes different sections and adjusts its features accordingly (e.g., highlighting and indentation).
The following sections can be defined:
This section contains all your JavaScript code that implements your idea. There can be only one @main section. If the editor content does not begin with any section, the @main section is assumed.
Apart from implementing your core idea, the code is also responsible for creating a viewport and plugging it to the specific location in the HTML document. This procedure allows you to use any 3D or WebGL framework.
No worries! In practice you often start a new project from a template which does all that for you. But if you don't find a suitable template, you still should not worry. There are just two steps you need to follow:
Different frameworks use different names for viewports and provide different means for instantiating these. For example, a viewport is just an HTML Canvas for pure WebGL project, and it is a Renderer when the Three.js library is used. The two steps typically translate to just a few lines of code located at the beginning of the @main section. You can use the JQuery library to further facilitate attaching the viewport to the HTML document. For example, the template using Three.js accomplishes the two steps in the following manner:
var renderer = new THREE.WebGLRenderer();
renderer.setSize(viewportWidth, viewportHeight);
$('#' + containerId).append(renderer.domElement);
Please, see the provided templates for more examples. Please, consider also contributing a template (see how).
This section contains GLSL code which can be a vertex shader, fragment shader, or perhaps some common GLSL functions used in other shaders you write. XYZ is a label chosen to your liking, so the section name could be, for example, @glsl_vs1, @glsl_noise, @glsl_vsDisplacement, and @glsl_fsLigthing. The code defined in this section becomes available in the @main section as a JavaScript variable (e.g., for the previous examples the variables would be: glsl_vs1, glsl_noise, glsl_vsDisplacement, and glsl_fsLighting). The JavaScript variable stores a single string containing the corresponding GLSL code. You use this variable when you create shaders in your @main section.
There can be any number of @glslXYZ sections.
A list of URLs pointing to external JavaScript libraries, each URL in one line. When you run your code, the libraries are loaded before the code from the @main section is executed, even if the @libs section appears as the end of the editor. Consequently, you can use functionality provided by the external libs in your @main section.
A lib can be a 3D library, framework but also some data stored as JavaScript variable (see more details here). One thing to keep in mind is that each entry in the @libs section has to be a valid URL from where the library can be retrieved. Therefore, the libraries need to be served somewhere on the internet. If you want to use a library but you don't have an external URL for it, please let me know, I might put it on the server.
And here is a list of libraries stored on the server (you can use these links in the @libs section of your project):
There can be only one @libs section.
This section lets you provide some project information. If you share your project as a standalone version the information is placed just below the viewport. This section is optional but it makes sense to leave a short description and some author details.
There can be only one @info section.
For the convenience, if the function frame is defined it gets invoked each frame. Two parameters are passed to the function:
function frame(timeSinceStart, deltaTime) {
//the code here will be invoked each frame
}
In WebGL applications it is often desirable to load images (e.g., to create textures) or to load other resources, such as 3D models. Currently, however, accessing external resources in a browser-side JavaScript is not easily possible due to the same origin policy. Shortly, your WebGL playground project is hosted at http://webglplayground.net and the browser will not let it access anything outside this site.
All this doesn't mean that you cannot work with the external resources. You have a couple of options:
If you have control over a server, you can enable Cross-Origin Resource Sharing (CORS). It is fairly easy. Once enabled, your JavaScript code will be able to load external resources from that server, whatever its domain is. Keep in mind, however, that not all web browsers (e.g., Firefox) implement CORS.
var texture = THREE.ImageUtils.loadTexture("http://AServerWithCORSEnabled.net/tex1.jpg");
You can use @libs section to load external JavaScript files. Typically, these files contain code libraries, but in the current context, they can be used to store relevant data in a form of JavaScript variables. These data can represent image data, mesh data or anything else that you need. You first retrieve a file, access its variables, and transform the content of these variables to the actual resources.
The drawback of this approach is that you need to transform resources to JavaScript variables and then the variables back to resources. However, in some cases this process can be fairly straightforward. For example, Three.js library provides a blender plugin for exporting 3D models to JavaScript variables. The library also provides methods which turn these variables back to the actual Three.js 3D objects. For an example that uses this approach see this gallery entry.
If you use this approach, you need to place your JavaScript file in an external location which you specify in the @libs section.
WebGL playground server hosts some sample resources of different types. You can freely use these in your projects. Because the resources are on the same server as the projects, the same origin policy is not violated. Just use the provided URLs to load the resources. For example, to create a texture in Three.js using one of the samples you can go with:
var texture = THREE.ImageUtils.loadTexture("http://webglplayground.net/samples/tex1.jpg");
And here is the list of all sample resources:
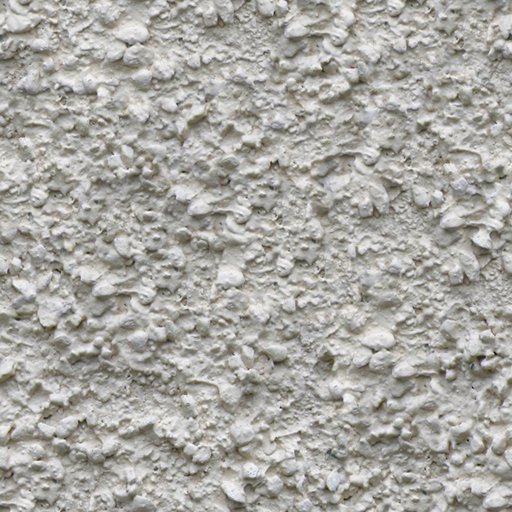
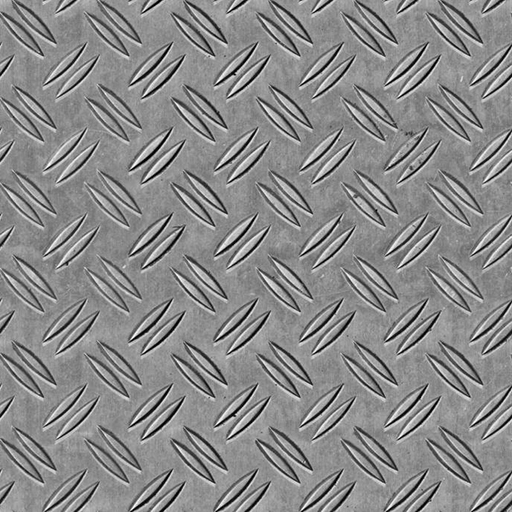
512x512 texture (tiled)
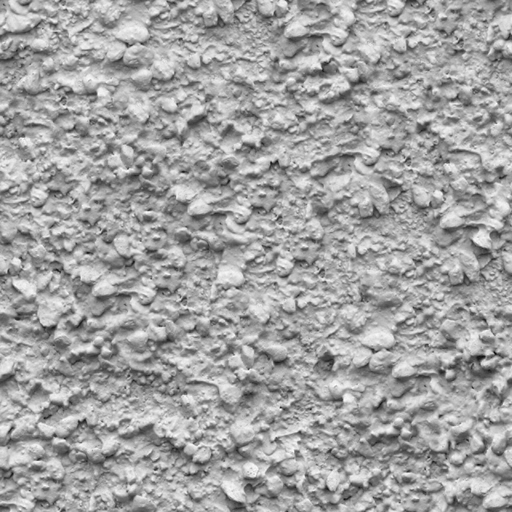
512x512 black and white texture (tiled)

512x512 normal map (tiled)

512x512 texture (tiled)
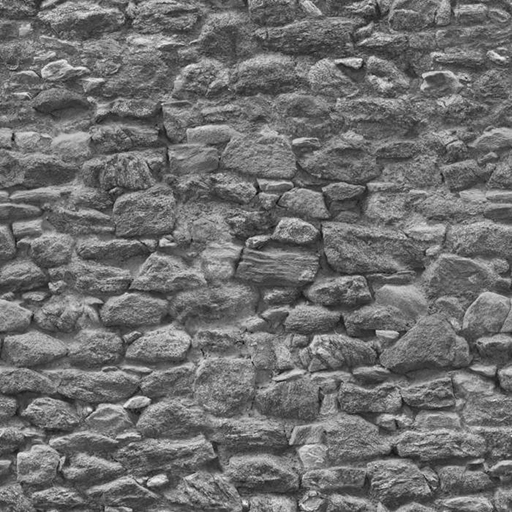
512x512 black and white texture (tiled)
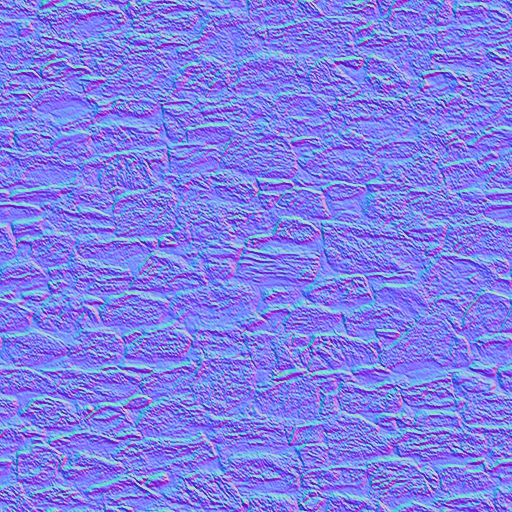
512x512 normal map (tiled)

512x512 texture (tiled)
512x512 black and white texture (tiled)
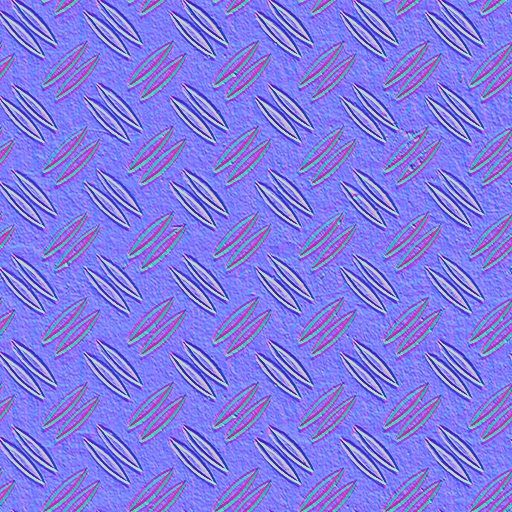
512x512 normal map (tiled)
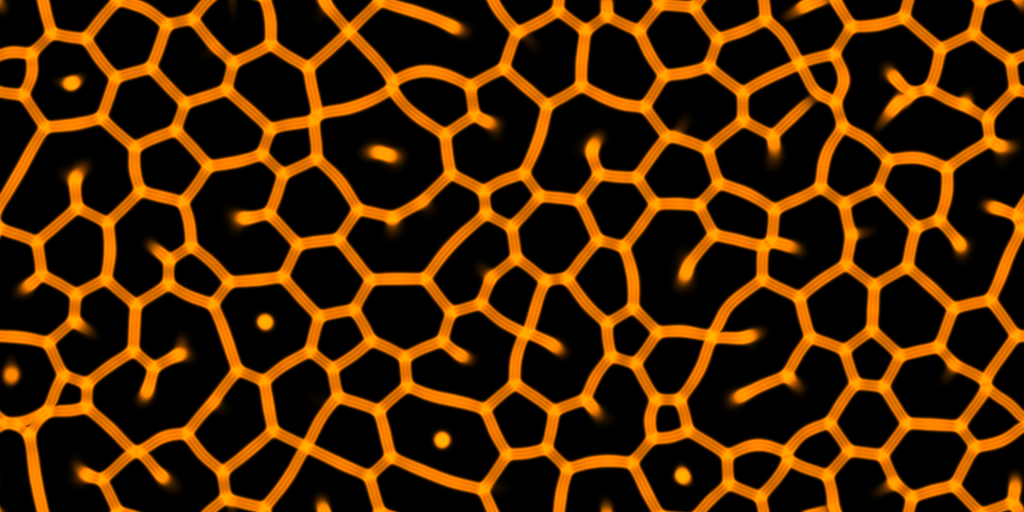
1024x512 texture (tiled) by Felix Woitzel
Special thanks go to Marcel Vijfwinkel (CGTextures.com) for providing WebGL playground with few of his outstanding textures. These images may not be redistributed by default. Please visit www.cgtextures.com for more information. Special thanks go also to Felix Woitzel for his organic net texture!
More coming soon
Gallery contains all sorts of projects. Please consider contributing to the gallery (see how). I promise to review all submissions. All of them are highly appreciated! Thanks!
Note, that the gallery entries can be used to start new projects (see here).
Once you save your project, it gets a permanent link: the one in the address bar. You can use it later to go back to your project and continue working from where you left. In fact, if you click on you get a couple of permanent links that let you share your project in different ways:
This is the same address as the one in the browser address bar. It lets anyone access your project in the edit mode.
This link let you share a standalone version of your project. No edit box. You have a handful of parameters (specified as a part of the URL) which you can change to your liking:
The embed version of your project. Copy/paste it into your blog or website. You can tweak parameters of the embed version. Please, see the description of the standalone version for all the options.
There are three ways of creating new projects:
When you click on , you are presented with a number of templates. Each one of them is a complete, working, but minimalistic project. It gives you a starting point from which you modify and extend the code.
At any point you can Fork a project by clicking on . A new project will be created whose content will match the content of the project being forked. The new project will be opened in a new browser tab and the initial project will be preserved in the former tab. Therefore, you can continue working on the initial project and on the new project simultaneously.
Forking is useful if you want to try something out without modifying your initial project. Or perhaps you get an idea for a different variation of your existing project.
The forked project is not saved by default. So if you want to keep it or share it, remember to save it first.
You can start your project with the code of any of the gallery entries. Once you find a gallery entry you like, click on . You can then modify the code in any way and save it. The gallery entry will not be replaced. Instead the project will be saved in a separate, new location.
Please consider contributing a gallery entry or a template (perhaps using another 3D or WebGL framework, or setting up a useful skeleton code). All submissions are promised to be reviewed. Once accepted, a submission will be added to an appropriate section together with the proper credits and description.
You have two alternative ways of making a submission. First, you can click on , fill the form and submit. Second, you can send your submission to: . If you use email please indicate if this is a gallery submission or a template submission. Provide also author information and a short description of your gallery entry or template.
All the submissions are highly appreciated!
Thank you!
I do my best to improve WebGL playground, add new features, fix bugs, review submissions, and answer emails. It is a side project, so please keep in mind that I don't have as much time for it as I would like.
If there is any feature you would like to see, any bug you have spotted, you have a question, or you want to contact for any other reaseon, please feel free to let me know at:
Thanks!
Happy coding!
Krystian Samp